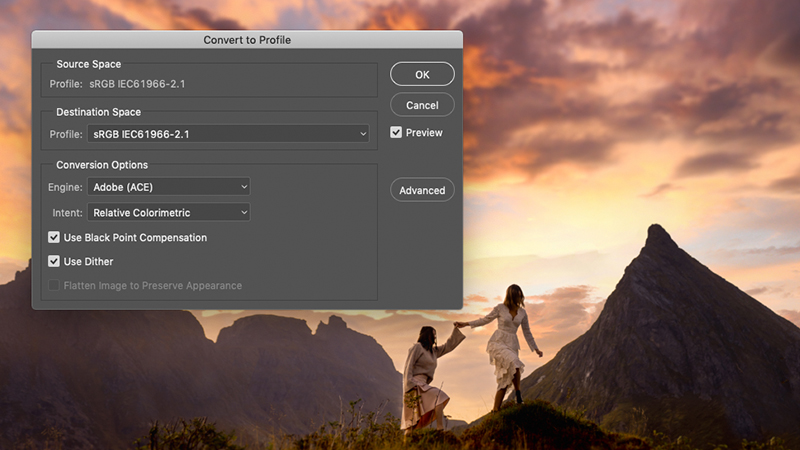
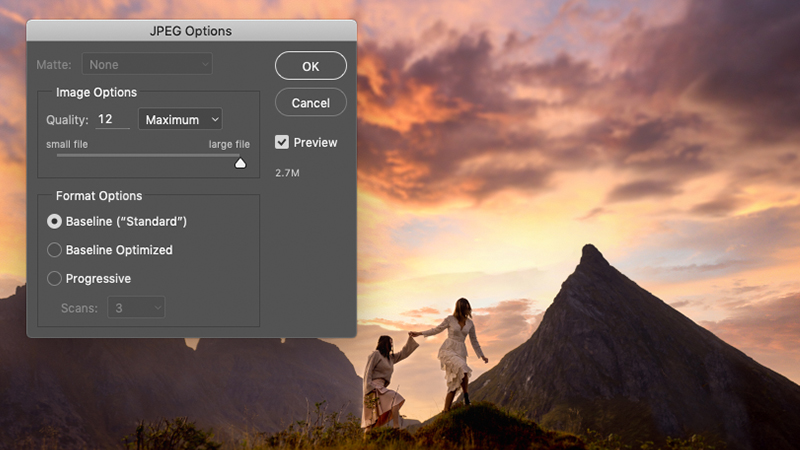
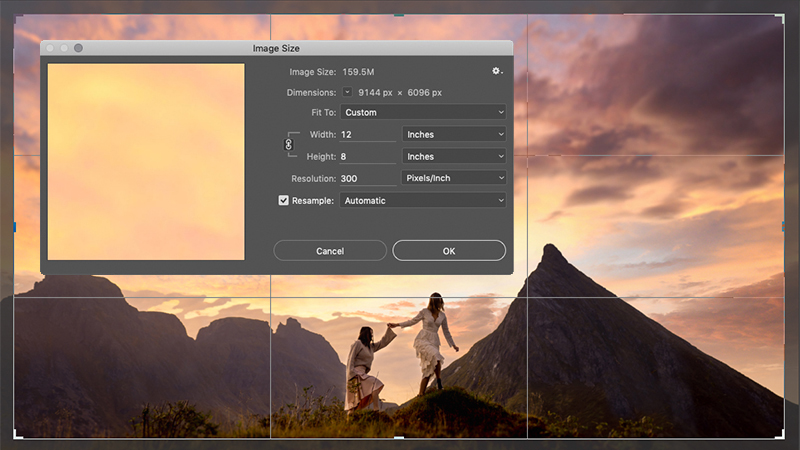
Setting Up Your Custom Print Size
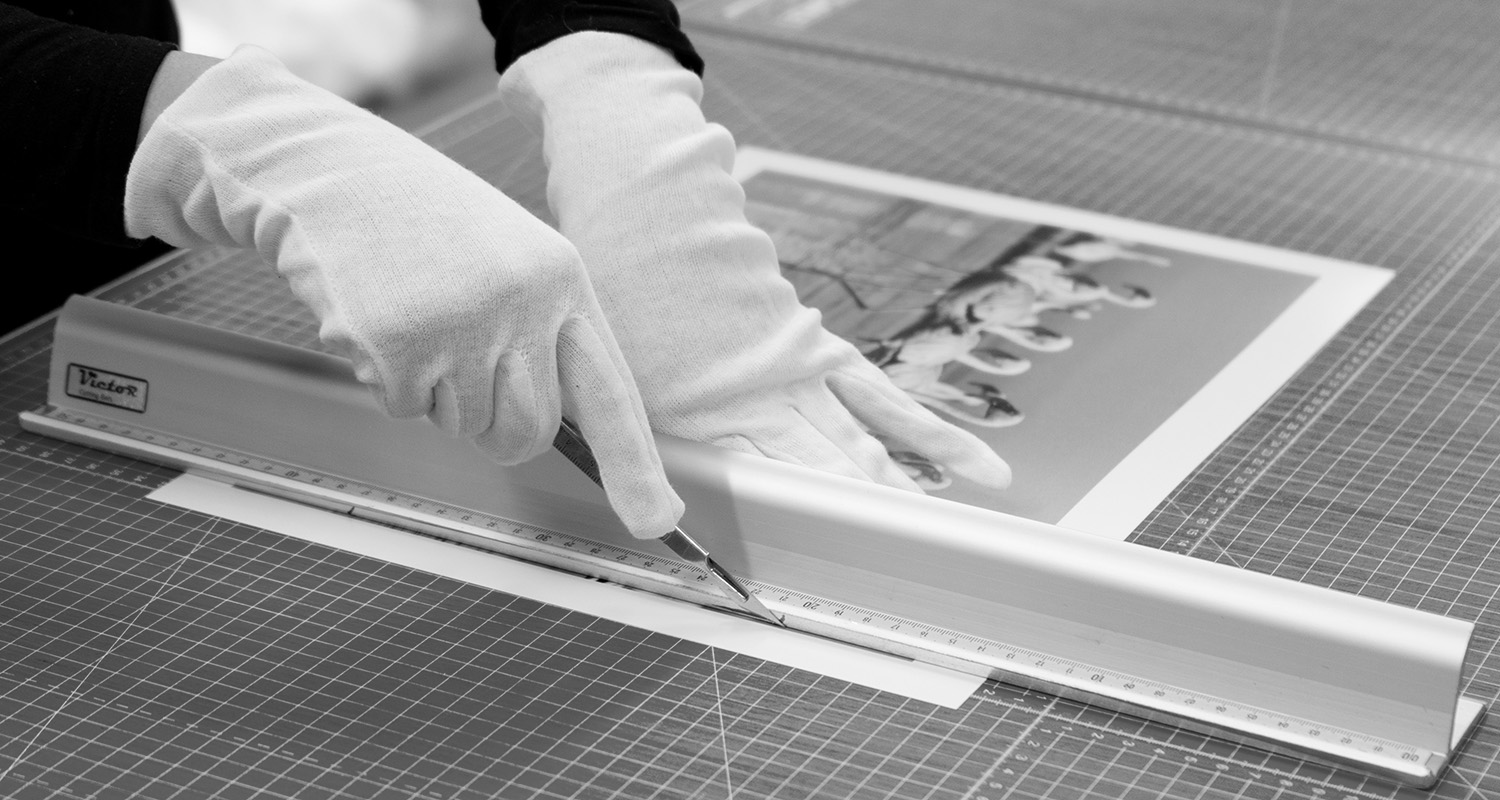
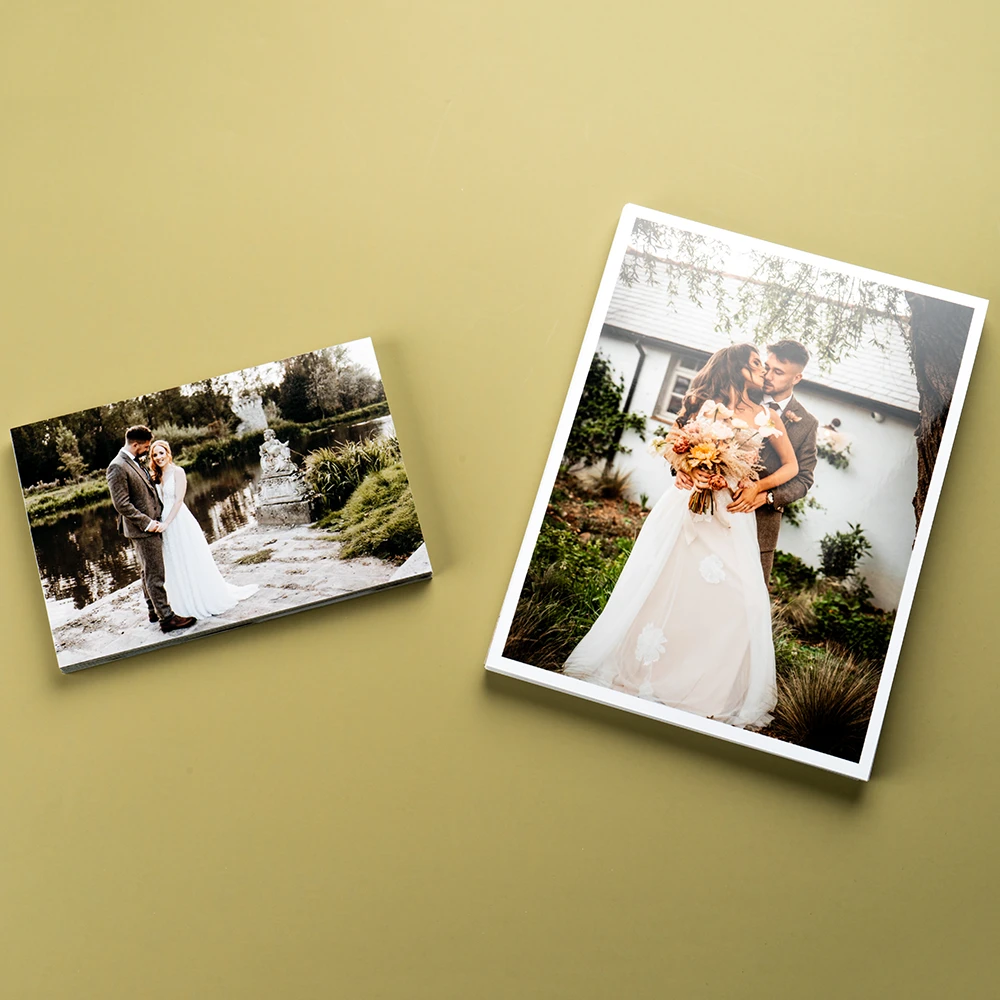
For some of our hand finished products such as fine art prints or mounted prints, we are able to approximately trim to your desired size before dispatching your order. Upload requirements vary between different types of prints, but each product page has its own individual information on how to correctly upload your custom size image. Most importantly, you must let us know via the order comments when requesting an unusual size.
For standard photographic prints, we do not offer any bespoke trimming but you can still design a custom size print to trim down at home once you receive your order if required.
All sizes are trimmed by hand so final sizes are approximate and images will still require bleed when uploaded. Due to the hand finished nature of many of our products, all bespoke sizes will be approximate and cannot be guaranteed to the millimetre.